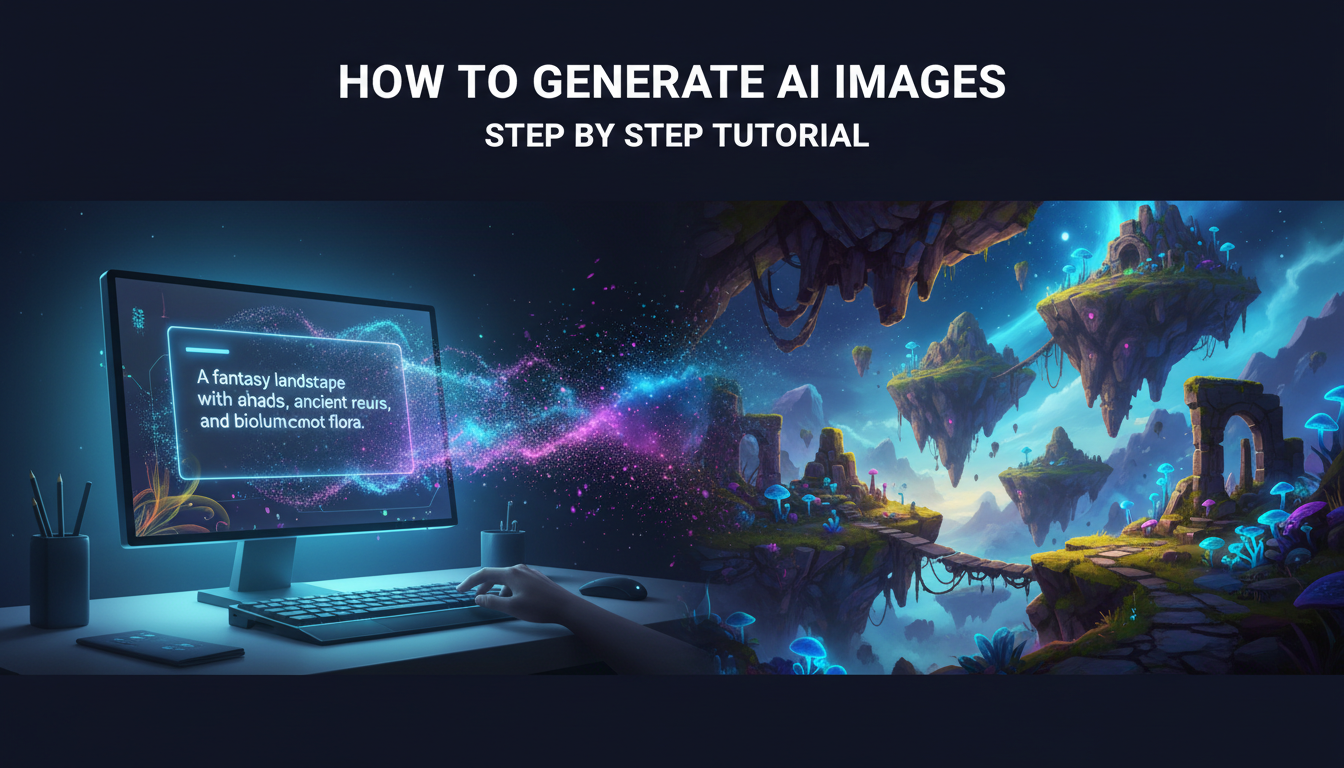
How to Generate AI Images: Step-by-Step Guide for Every Skill Level
Learn how to generate AI images from beginner to advanced. Step-by-step instructions for Midjourney, Flux, DALL-E, Stable Diffusion and more.
Make AI images and video in your browser
Characters, video, photo packs. No GPU, no setup. Your first generation is free.
When I first tried to generate an AI image back in early 2023, I spent an embarrassing amount of time just figuring out where to start. There were too many tools, too many opinions, and too many tutorials that assumed I already knew what a "negative prompt" was. Nobody just told me, step by step, how to go from zero to a finished image.
That's what this guide is. No assumptions. No jargon without explanation. Just a clear path from "I've never done this" to "I just made something awesome."
Quick Answer: The fastest way to generate your first AI image is through ChatGPT (which uses DALL-E 3). Just open a conversation, describe the image you want in plain English, and it will create it. For better quality and more control, use Flux 2 through a platform like Apatero or set up Stable Diffusion locally. The whole process takes under 5 minutes with cloud tools.
- You can start making AI images in under 5 minutes with no technical knowledge
- Better prompts mean better images. Specificity is your best friend
- Free options exist at every skill level, from beginner to advanced
- The tool matters less than your prompt skills. Those transfer across every platform
- Advanced techniques like ControlNet and LoRA training unlock professional-quality results
The Absolute Beginner Path: Your First AI Image in 5 Minutes
If you've never generated an AI image before, start here. I'm going to walk you through the simplest possible path to your first creation.
Step 1: Open ChatGPT
Go to chat.openai.com. If you don't have an account, create one. The free tier includes image generation, though you'll get more uses with a paid plan.
Step 2: Describe What You Want
Type something like: "Create an image of a cozy coffee shop on a rainy evening, warm lighting coming through the windows, impressionist painting style."
Don't overthink it. Write naturally, like you're describing a scene to a friend. ChatGPT handles the prompt engineering behind the scenes.
Step 3: Wait and Download
The image appears in about 10-15 seconds. If you like it, click to download. If it's not quite right, tell ChatGPT what to change. "Make it more colorful" or "change the perspective to looking from inside the shop" works just fine.
That's it. Seriously. You've just generated your first AI image. The rest of this guide is about making that process more powerful, more precise, and more efficient.
Level 2: Writing Better Prompts
The single biggest improvement you can make isn't switching tools. It's writing better prompts. I learned this the hard way after blaming three different platforms for "bad results" when the real problem was my lazy descriptions.
The Prompt Formula That Works
Here's the structure I use for about 80% of my generations:
[Subject] + [Details] + [Environment] + [Lighting/Mood] + [Style/Medium]
Example: "Professional headshot of a young woman with curly auburn hair and green eyes, wearing a dark blue turtleneck, in a modern office with large windows, soft natural light from the left, shot on Canon EOS R5, shallow depth of field."
Compare that to: "photo of a woman." Same idea, wildly different results.
Common Prompt Mistakes I Made (So You Don't Have To)
Being too vague. "A cool landscape" gives the AI too much freedom. "A dramatic mountain landscape at golden hour with low hanging clouds, jagged peaks, and a small alpine lake reflecting the sunset colors" tells it exactly what you want.
Contradicting yourself. "A dark, bright, moody, happy scene" confuses the model. Pick a direction and commit to it.
Stuffing too many subjects. "A dog and a cat and a bird and a fish and a horse in a garden" will produce chaos. Focus on one or two main subjects and let the rest be secondary.
Forgetting style cues. Without style direction, most models default to a generic digital art look. Adding "oil painting," "35mm film photography," "watercolor illustration," or "cinematic still" dramatically changes the output character.
I've found that spending 60 seconds refining a prompt saves me from 10 regeneration attempts. When I covered prompt techniques in my AI image generation beginner's guide, the response from readers confirmed this is the #1 thing that levels people up.
Level 3: Choosing the Right Platform
Once you've got the basics down, the platform you use starts to matter more. Here's my honest take on when to use what.
For Ease of Use: DALL-E 3 via ChatGPT
If you want conversational interaction and zero learning curve, stay with ChatGPT. The quality is good enough for social media, blog illustrations, and brainstorming. The limitation is control. You can't fine-tune parameters, and the content policy blocks certain types of images.
For Visual Quality: Midjourney
Midjourney produces the most aesthetically pleasing results, especially for artistic and marketing content. The catch is the Discord interface. Join the Midjourney Discord, go to a #newbies channel, and type /imagine prompt: [your description]. The learning curve is minimal but the interface feels odd if you're not a Discord user.
For Maximum Control: Flux 2 or Stable Diffusion
This is where the real power lives. Running models through ComfyUI gives you granular control over every aspect of generation. You can adjust sampler settings, guidance scale, step count, and chain together multiple processing stages. The learning curve is steeper, but the results are worth it.
I've been using Apatero as a middle ground. It gives access to Flux and Stable Diffusion models without requiring local hardware setup, while still offering more control than ChatGPT. For my detailed tool comparison, check the best AI image generators guide.
Level 4: Advanced Techniques That Pros Use
This is where things get genuinely exciting. These techniques separate casual users from people who produce professional-quality outputs consistently.
Image-to-Image Generation
Instead of starting from pure noise, you provide a reference image that the AI transforms. Upload a rough sketch and turn it into a polished illustration. Take a daytime photo and convert it to a nighttime scene. Use a product prototype photo and generate marketing-ready product shots. If you want to go deeper on this topic, I wrote a full guide on how to turn any photo into AI art with step-by-step instructions for every skill level.
Free ComfyUI Workflows
Find free, open-source ComfyUI workflows for techniques in this article. Open source is strong.
The key parameter is "denoise strength" (sometimes called "image strength" or "creativity"). Lower values (0.3-0.5) keep more of the original image. Higher values (0.7-0.9) allow more creative freedom. I usually start at 0.6 and adjust from there.
Inpainting: Fix Parts Without Regenerating Everything
Inpainting is one of those features that completely changed my workflow. Instead of regenerating an entire image because one hand looks wrong, I mask just the hand area and regenerate only that portion.
Every major platform supports inpainting now. In ComfyUI, it's built into the standard workflow. In Midjourney, use the Vary Region feature. In DALL-E, use the editor. The quality has improved dramatically. A year ago, inpainted regions often looked obviously different from the surrounding image. Now the blending is nearly seamless.
ControlNet: Precise Structural Control
ControlNet lets you guide generation with structural inputs. A pose skeleton, an edge detection map, a depth map. The AI follows your structure while creating all the visual content.
This is essential for character consistency and precise composition. If I need a character in a specific pose, I find or create a stick figure skeleton in that pose, feed it through ControlNet, and the output matches the pose exactly while looking completely natural.
I wrote a deep dive on ControlNet for beginners that covers every control type in detail.
LoRA Training: Custom Styles and Subjects
LoRA (Low-Rank Adaptation) training lets you teach an AI model to recognize specific subjects or styles using a small set of training images. Want the AI to generate photos of your product? Train a LoRA with 20-30 product photos. Want a specific art style? Train with 15-20 examples.
The training process takes 30 minutes to a few hours depending on your hardware and dataset size. The results are remarkable. A well-trained LoRA produces outputs that look like the AI has known your subject for years.
If LoRA training sounds interesting, I covered the process in my beginner's guide to LoRA training.
Batch Generation and Automation
When you need volume (product variations, social media content, character sheets), manual generation is too slow. Tools like ComfyUI support batch processing, where you define a workflow once and run it across multiple prompts automatically.
I regularly run batches of 50-100 images overnight. By morning, I have a collection to curate and refine. The curation step is important. Even the best AI doesn't hit a home run every time. But generating 100 options and picking the best 10 is faster than trying to get one perfect image.
Level 5: Professional Workflows
Here's what my actual production workflow looks like when I need high-quality output for a client or project.
Want to skip the complexity? Apatero gives you professional AI results instantly with no technical setup required.
Step 1: Concept prompting. I generate 10-20 quick images at low resolution to explore different compositions and styles. This takes about 5 minutes.
Step 2: Refinement. I pick the best 2-3 concepts and regenerate them at full resolution with optimized prompts. I might adjust the prompt 3-4 times based on what the initial attempts showed me.
Step 3: Inpainting fixes. Almost every image needs minor corrections. A weird hand, an off background element, a composition tweak. Inpainting handles these in seconds.
Step 4: Upscaling. I run the final image through an AI upscaler (usually SUPIR or SeedVR2) to get print-quality resolution. This step alone transforms the output from "good" to "professional."
Step 5: Final post-processing. Color grading, sharpening, and any text or graphic overlay in Photoshop. AI handles 90% of the work, but that last 10% of human polish makes the difference.
The whole process takes 15-30 minutes per finished image, down from the hours it used to take with traditional stock photography or commissioned illustration.
Common Problems and How to Fix Them
After generating thousands of images, I've run into every possible issue. Here are the most common ones and their solutions.
Weird Hands and Fingers
Still the most common complaint. Solutions that work for me:
- Add "detailed hands, anatomically correct fingers" to your prompt
- Use inpainting to fix specific hand issues
- Try a different seed (sometimes it's just bad luck)
- Use ControlNet with a hand pose reference
Faces Look Uncanny
Usually caused by too many conflicting facial descriptors:
- Keep facial descriptions simple and focused
- Use reference images with img2img for consistency
- Avoid extreme close-ups (medium shots tend to work better)
- Check if your model has known issues with certain ethnicities or features
Images Look Blurry or Low Quality
Almost always a settings issue:
- Increase the step count (try 30-40 steps)
- Adjust the guidance scale (CFG) up slightly
- Make sure you're generating at the model's native resolution
- Apply upscaling as a post-processing step
Output Doesn't Match the Prompt
Prompt adherence varies by model. If you're consistently getting off-target results:
Earn Up To $1,250+/Month Creating Content
Join our exclusive creator affiliate program. Get paid per viral video based on performance. Create content in your style with full creative freedom.
- Try Flux 2, which has the best prompt adherence I've tested
- Restructure your prompt with the most important elements first
- Use negative prompts to explicitly exclude unwanted elements
- Break complex scenes into simpler components and composite them
Free Ways to Generate Quality AI Images
You don't need to spend money to produce impressive results. Here are the genuinely free options I recommend.
Stable Diffusion locally: Free forever if you have an NVIDIA GPU with 8GB+ VRAM. The absolute best free option for power users.
Microsoft Image Creator: Uses DALL-E technology with a generous free tier. Great quality for basic needs.
Leonardo AI free tier: Offers 150 daily credits. More than enough for casual use.
Canva AI: Built into the free Canva tier with limited generations. Easy to use and produces clean results.
Google Colab notebooks: Run any open-source model for free on Google's cloud GPUs. More technical but very powerful.
If you're generating more than a few images per week, the free tiers will feel limiting. At that point, either set up a local environment or use a hosted platform like Apatero where you can access professional models without expensive hardware.
What Can You Actually Use AI Images For?
This is the practical question that matters. Here's where I see people getting real value.
Content creation. Blog headers, social media posts, newsletter illustrations. I use AI for every image on this blog.
Product visualization. E-commerce listings, mockups, product variations. Small businesses save thousands by replacing traditional product photography.
Creative projects. Book illustrations, game assets, album covers, concept art. Independent creators can now produce visuals that would have required a team.
Marketing materials. Ad creatives, presentation slides, pitch decks. Rapid iteration means you can test 20 visual concepts before committing to one.
Personal use. Custom wallpapers, gifts, avatars, D&D character portraits. Not everything needs a business justification.
Frequently Asked Questions
Do I need special hardware to generate AI images?
No. Cloud-based tools like ChatGPT, Midjourney, and Leonardo AI work on any device with a web browser. For running models locally, you need an NVIDIA GPU with 8GB+ VRAM. But local hardware is optional, not required.
How many images can I generate for free?
It varies by platform. Microsoft Image Creator offers roughly 15 "boosts" per day. Leonardo AI gives 150 daily tokens. ChatGPT's free tier includes limited generations. Stable Diffusion locally has no limits at all.
Is the quality good enough for professional use?
Absolutely. Current tools produce output quality that matches or exceeds stock photography for many use cases. The key is knowing how to prompt effectively and applying appropriate post-processing.
Can I generate images of real people?
Technically possible with some tools, but ethically and legally complex. Most commercial platforms restrict this. Creating deepfakes or using someone's likeness without consent is illegal in many jurisdictions. I'd strongly recommend against it.
How do I make consistent characters across multiple images?
Use LoRA training to teach the model a specific character, or use reference images with IPAdapter/img2img techniques. Platforms like Apatero offer built-in consistency features. For the full rundown, see my guide on AI character consistency.
What's the best resolution to generate at?
Most models work best at their native resolution (usually 1024x1024 or 1280x768). Generate at native resolution and then use AI upscaling to reach your target size. Generating directly at non-native resolutions often produces artifacts.
How do I avoid AI-looking images?
Add specific photographic terms to your prompt (lens type, film stock, lighting setup). Use photorealistic models like Flux 2. Apply subtle post-processing. And avoid the common AI tell-tales like overly smooth skin and impossibly perfect lighting.
Can I sell AI-generated images?
Generally yes, but check the license terms of your chosen tool. Most paid plans include commercial usage rights. For stock photography or print-on-demand, many platforms now accept AI-generated content with disclosure.
How long does it take to get good at this?
In my experience, you can produce decent results within the first hour. Good results take a week or two of practice. Professional-quality output requires understanding advanced techniques, which takes a few months of consistent practice. But the learning curve is manageable and genuinely fun.
What if the AI generates something offensive or inappropriate?
Commercial platforms have content filters that prevent most problematic outputs. If something slips through, don't share it. The responsibility for how generated content is used lies with the creator. Be thoughtful about what you generate and publish.
Start Simple, Then Level Up
The biggest mistake I see new users make is trying to start with advanced tools. They install ComfyUI before they've generated a single image, then get overwhelmed by the node graph and quit.
Start with ChatGPT or Microsoft Image Creator. Generate 50 images. Learn what makes a good prompt. Notice patterns in what works and what doesn't. Then, when you hit the ceiling of those simple tools, you'll have the intuition to get more out of advanced platforms.
The AI image creation field moves fast, but the fundamentals stay constant. Good prompting, iterative refinement, and knowing your tool's strengths. Master those, and every new model or platform becomes just another canvas for your creativity. For a comprehensive look at text-to-image techniques specifically, check out my text to image AI guide where I cover advanced prompt strategies and model-specific tips.
Make AI images and video in your browser
Characters, video, photo packs. No GPU, no setup. Your first generation is free.
Related Articles
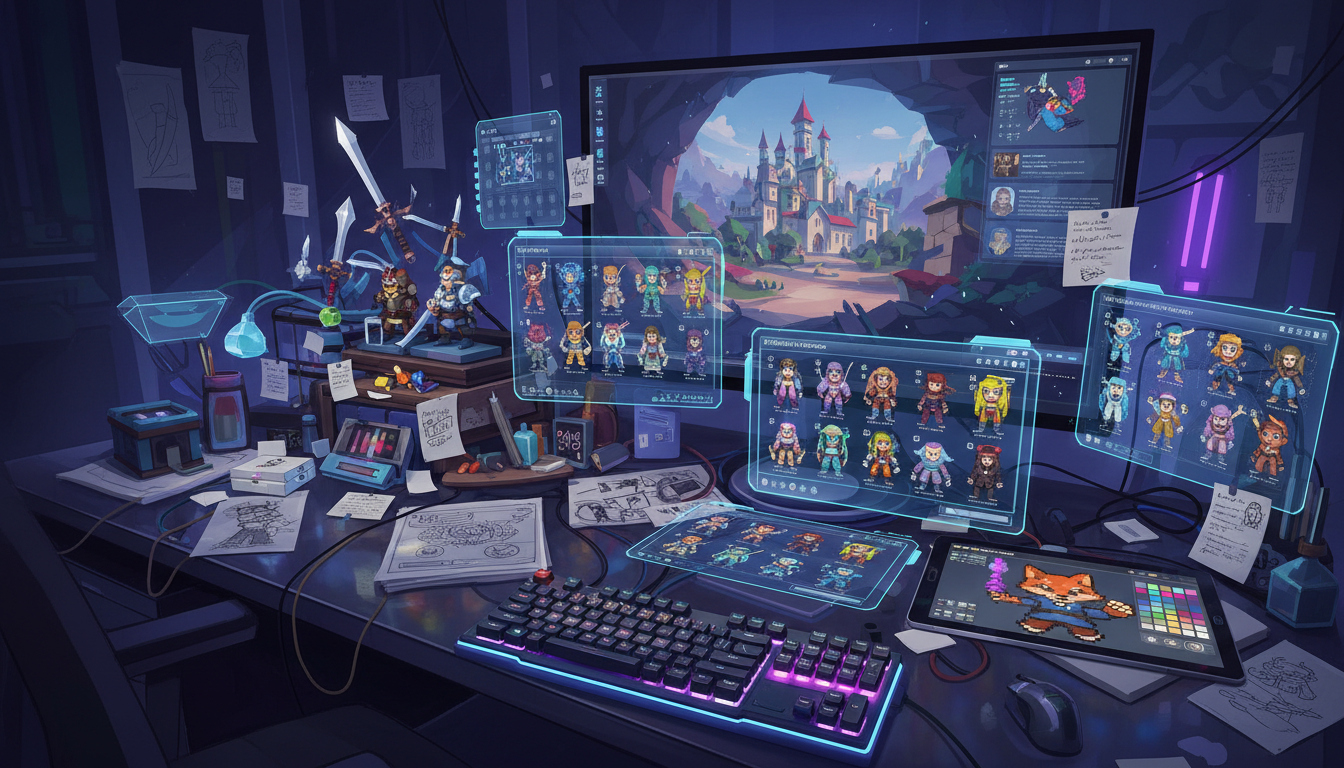
AI Art for Game Developers: Complete Guide to Asset Creation
Learn how indie game developers use AI for concept art, sprites, backgrounds, and UI. Practical workflows for integrating AI into game asset pipelines.
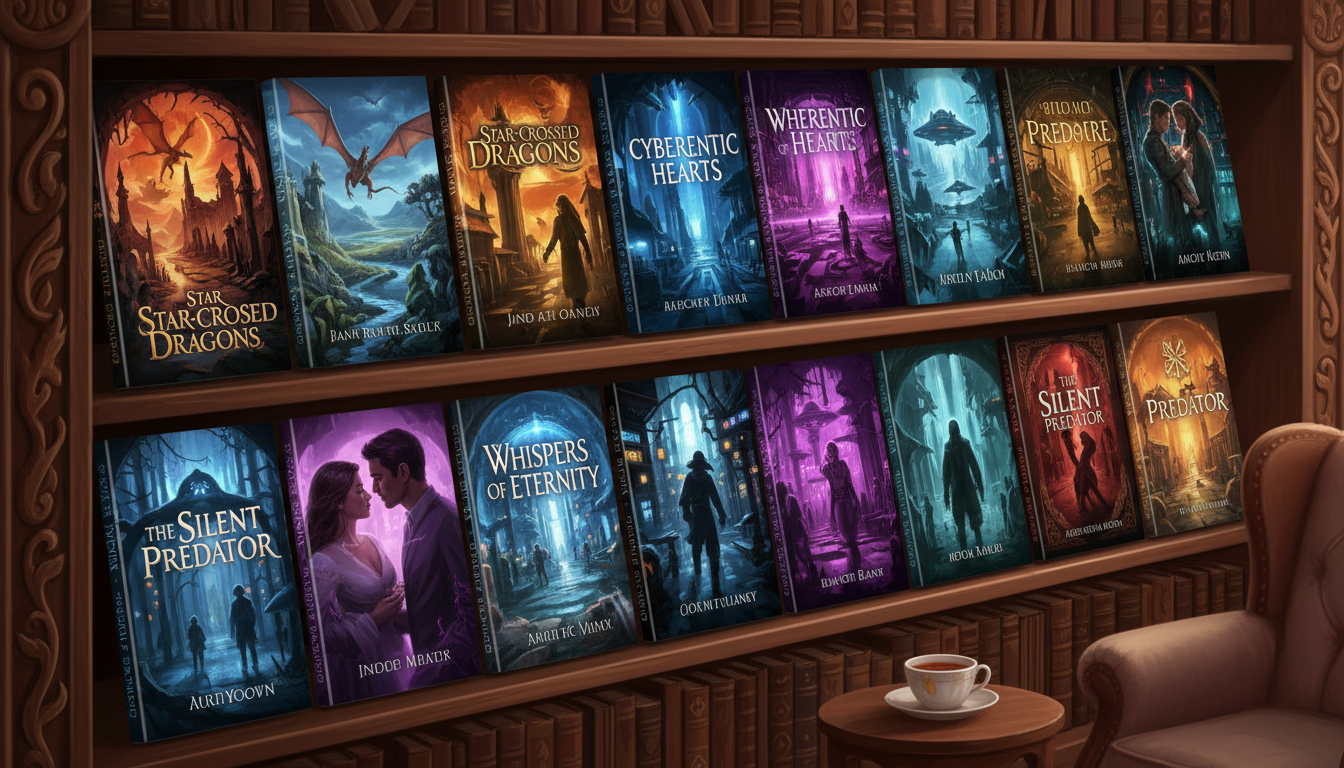
How to Create Professional Book Covers with AI for Self-Publishing
Design stunning book covers using AI image generators. Complete guide for self-published authors covering every genre from fantasy to romance to thriller.
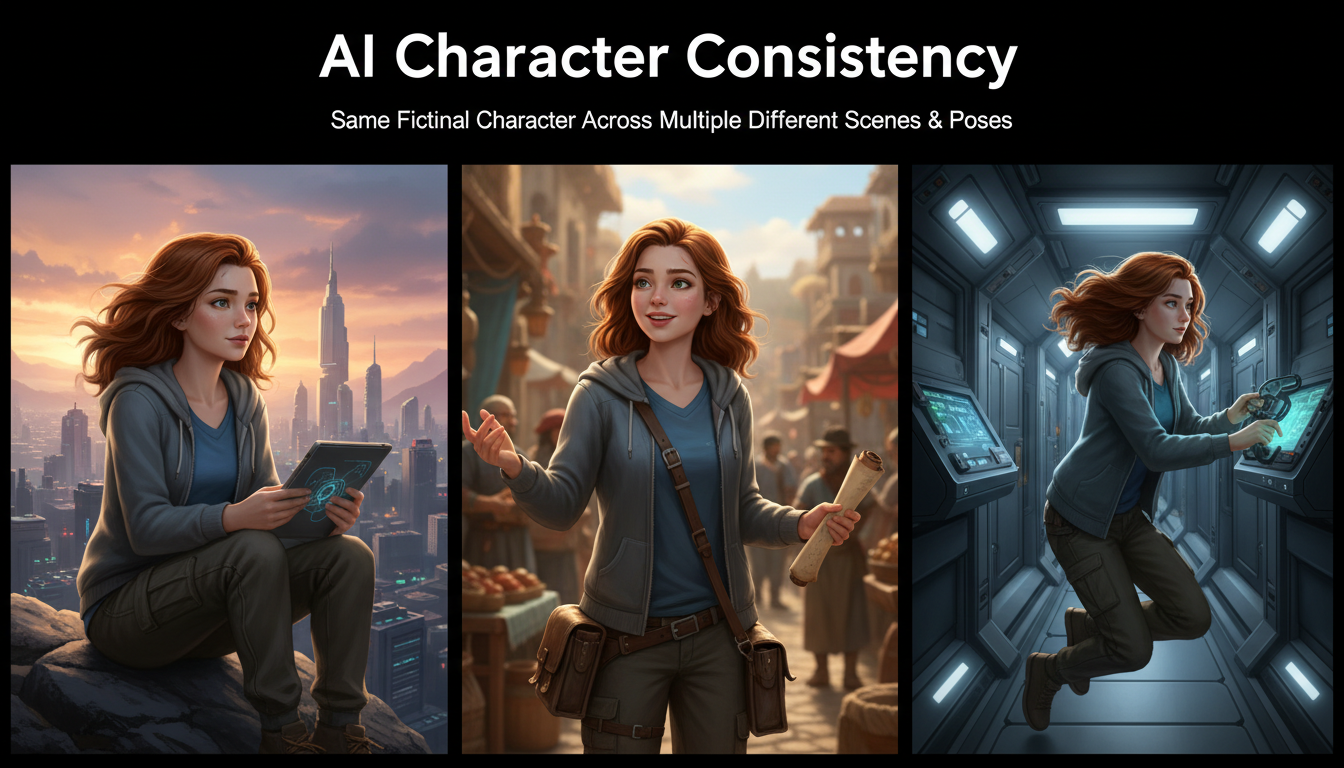
AI Consistent Character Generator: How to Keep the Same Character Across Multiple Images
Learn how to generate the same AI character across multiple scenes using LoRA training, IPAdapter, Midjourney cref, and reference image techniques. Complete 2026 guide.