RVC Audio Quality Optimization: Tips for Crystal Clear Voice Cloning
Maximize RVC voice cloning quality with optimization techniques for input audio, conversion settings, and post-processing for professional results.
Make AI images and video in your browser
Characters, video, photo packs. No GPU, no setup. Your first generation is free.
RVC voice cloning quality depends on many factors beyond just the model itself. Input audio preparation, conversion settings, and post-processing all significantly impact final results. Understanding these optimization points transforms mediocre output into professional-quality voice conversion.
This guide covers the complete optimization pipeline, from preparing your input audio to final output refinement.
Quick Answer: Better RVC quality comes from clean input audio (noise-free, consistent volume), appropriate conversion settings (matching pitch, proper index ratio), and post-processing (light EQ, denoising, volume normalization). The most impactful improvement usually comes from input audio quality. Start there before adjusting conversion parameters.
:::tip[Key Takeaways]
- Small optimizations can significantly improve your rvc audio quality optimization: tips for crystal clear voice cloning results
- Consistency in applying these tips matters more than perfection
- Start with the highest-impact changes first
- Track your improvements to stay motivated :::
- Input audio preparation techniques
- Optimal conversion settings
- Post-processing for polish
- Common quality problems and solutions
- Quality assessment methods
Understanding Quality Factors
Before optimizing, understanding what affects quality helps prioritize efforts.
The Quality Chain
Quality flows through stages:
Input audio quality → Model quality → Conversion settings → Post-processing
Weakness at any stage limits final quality. Input audio has the largest impact on typical results.
Quality Metrics
What makes voice conversion "good":
Clarity: Clean, artifact-free sound.
Naturalness: Sounds like real speech, not robotic.
Consistency: Quality stable throughout audio.
Character match: Sounds convincingly like target voice.
Emotion preservation: Original expression transfers.
Input Audio Optimization
Recording Quality
If recording input yourself:
Equipment matters:
- Use decent microphone (USB condenser minimum)
- Minimize room echo
- Reduce background noise
- Consistent microphone distance
Recording settings:
- 44.1kHz or 48kHz sample rate
- 16-bit or 24-bit depth
- WAV format preferred
- Mono recording sufficient
Pre-Processing Steps
For any input audio:
Noise reduction:
- Remove background noise
- Tools: Audacity, Adobe Audition, iZotope RX
- Light touch avoids artifacts
- Aggressive reduction hurts quality
Volume normalization:
- Consistent levels throughout
- Target -3dB to -6dB peak
- Avoid clipping
- Compress dynamic range if needed
Format conversion:
- Convert to WAV if not already
- 44.1kHz sample rate standard
- 16-bit depth sufficient
- Mono channel
Problematic Input Types
Avoid or fix these issues:
Heavy compression artifacts: MP3 at low bitrate.
Background music: Difficult to separate cleanly.
Multiple voices: RVC needs single voice.
Heavy effects: Reverb, distortion, auto-tune.
Variable quality: Mixed recording conditions.
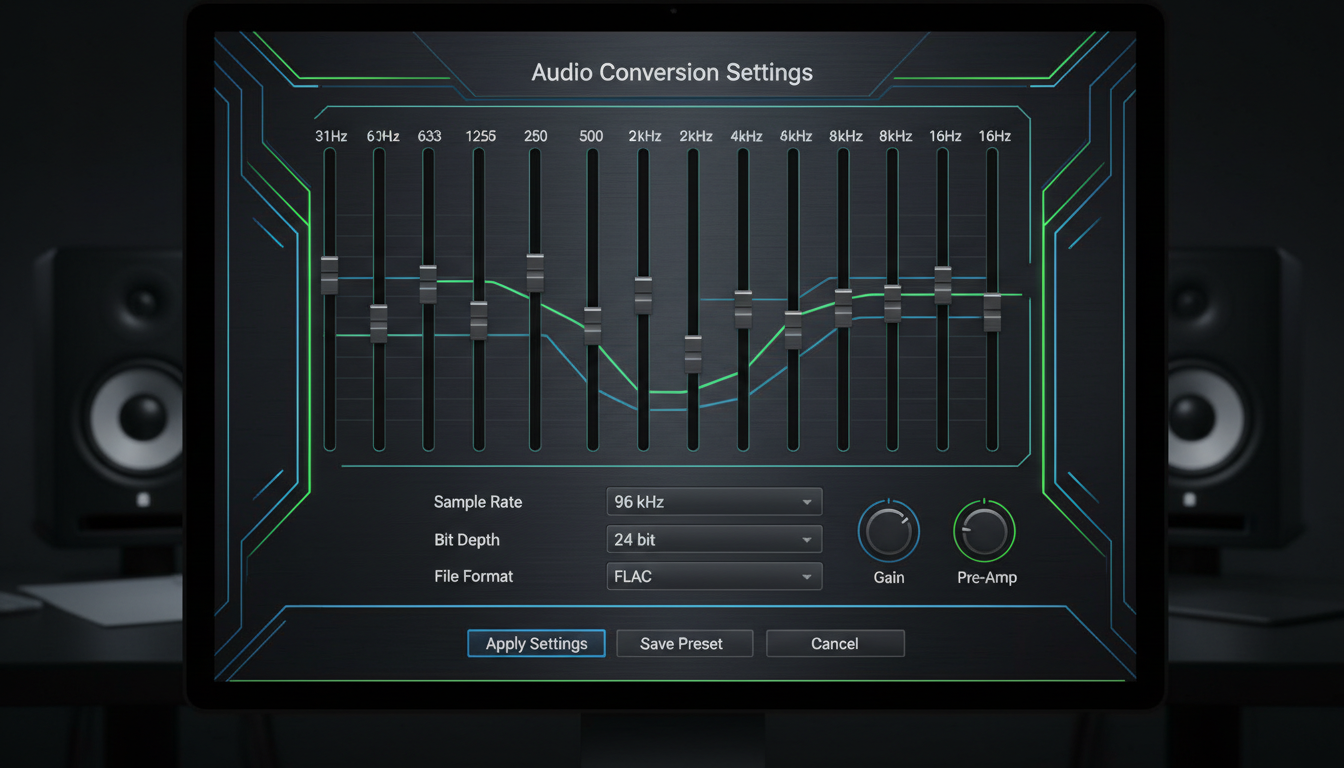
Conversion Settings
Pitch Control
Match source and target voice registers:
Pitch shift: Measured in semitones.
Male to female: Typically +12 to shift up an octave.
Female to male: Typically -12 to shift down.
Same gender: Usually 0 or small adjustment.
Fine-tuning: Adjust based on specific voices.
Wrong pitch creates unnatural quality.
Free ComfyUI Workflows
Find free, open-source ComfyUI workflows for techniques in this article. Open source is strong.
Index Ratio
Controls how closely output matches model voice:
Higher ratio (0.7-1.0):
- More model-like sound
- May lose some expression
- Better for consistent character
Lower ratio (0.3-0.5):
- More source expression
- Less perfect voice match
- Better for emotional content
Starting point: 0.5-0.7 balances both.
Filter Radius
Smooths pitch variations:
Higher values: More smoothing, potentially artificial.
Lower values: More natural variation, potential instability.
Recommended: 3-5 for most conversions.
Protect Parameter
Preserves consonants and breathing:
Higher protection: Clearer speech, may affect voice character.
Lower protection: More voice effect, potential clarity loss.
Recommended: 0.3-0.5 typically.
Additional Settings
Harvest/RMVPE pitch detection: Try different methods.
Crepe: Higher quality but slower.
RMVPE: Good balance of speed and quality.
Post-Processing
Audio Cleanup
After conversion:
Want to skip the complexity? Apatero gives you professional AI results instantly with no technical setup required.
Light noise reduction:
- Remove any introduced artifacts
- Gentle settings avoid quality loss
- Address specific issues rather than overall
De-essing:
- Reduce harsh sibilance if present
- Subtle processing preferred
Equalization
Balance frequency response:
Low-end: Roll off below 80Hz typically.
Presence: Boost 2-5kHz if lacking clarity.
Air: Light boost 10-12kHz for brightness.
Match original: EQ to match source recording character.
Compression
Even out dynamics:
Gentle ratio: 2:1 to 4:1.
Appropriate threshold: Catch peaks without constant compression.
Fast attack: For speech clarity.
Medium release: Natural decay.
Limiting
Prevent clipping:
Ceiling: -1dB to -0.5dB.
Catch peaks: Without audible limiting.
Earn Up To $1,250+/Month Creating Content
Join our exclusive creator affiliate program. Get paid per viral video based on performance. Create content in your style with full creative freedom.
Final loudness: Match intended output context.
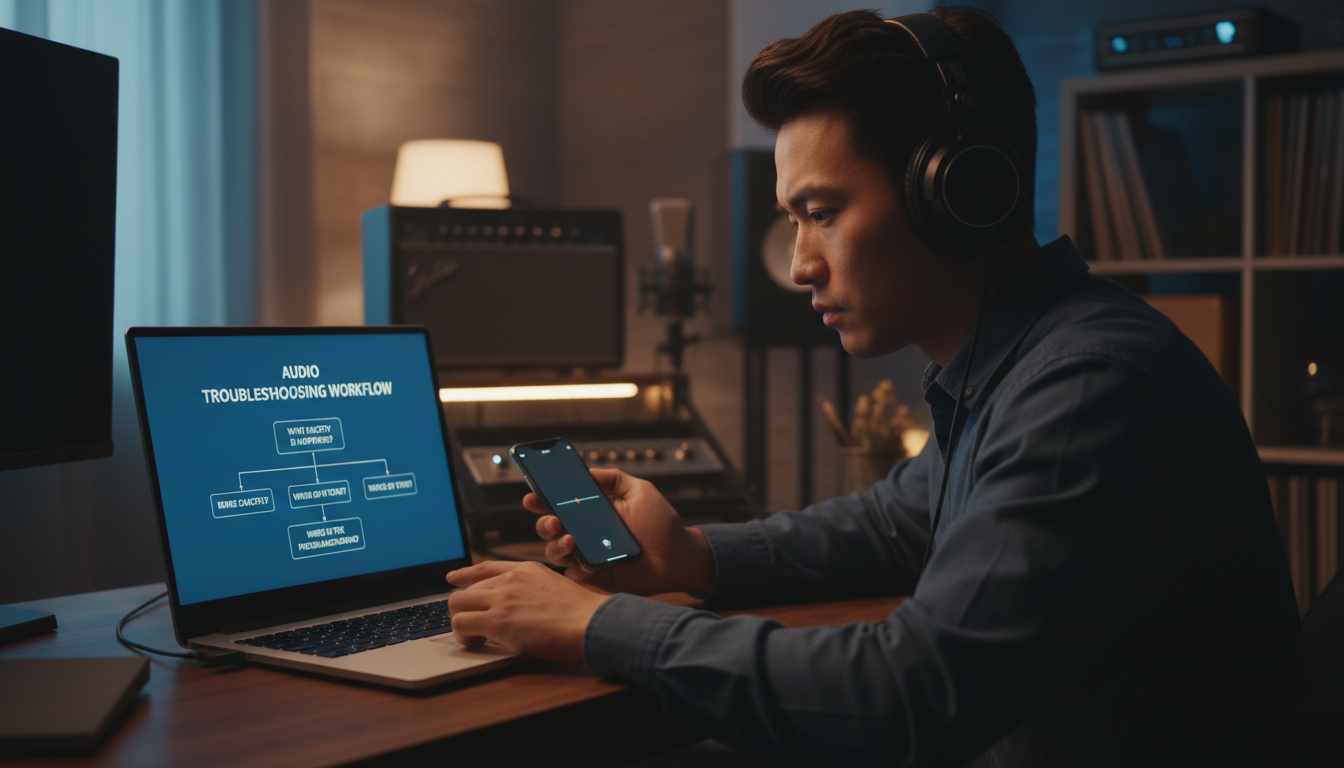
Common Problems and Solutions
Robotic/Metallic Sound
Causes:
- Low quality model
- Wrong settings
- Poor input audio
Solutions:
- Try different model
- Reduce index ratio
- Improve input quality
- Adjust filter radius
Missing Consonants
Causes:
- Over-aggressive conversion
- Poor model training
Solutions:
- Increase protect parameter
- Use better quality model
- Improve input clarity
Pitch Instability
Causes:
- Difficult input material
- Wrong pitch detection method
Solutions:
- Try different pitch algorithm
- Pre-process input more carefully
- Use simpler input material
Background Noise in Output
Causes:
- Noisy input
- Model artifacts
Solutions:
- Clean input before conversion
- Light post-process denoising
- Check model quality
Unnatural Breathing
Causes:
- Breathing converted unnaturally
- Protection settings wrong
Solutions:
- Adjust protect parameter
- Manually edit breaths post-conversion
- Remove breaths from input if problematic
Quality Assessment
Critical Listening
Evaluate systematically:
First impression: Does it sound natural?
Extended listening: Does quality hold throughout?
Comparison: How does it compare to source and target?
Technical check: Any artifacts, distortion, issues?
A/B Testing
Compare different settings:
- Same input, different index ratios
- Different pitch detection methods
- Various filter radius values
- Pre/post processing variations
Document what works for your use cases.
Reference Comparison
Compare to known good examples:
- Professional voice work
- High-quality RVC samples
- Original target voice recordings
Match quality standards rather than accept mediocrity.
Workflow Optimization
Batch Processing
For multiple files:
- Standardize input preparation
- Use consistent settings for similar content
- Automate where possible
- Quality check samples before full batch
Template Creation
Save effective configurations:
- Document working settings
- Create presets for different use cases
- Record what works for specific voices
Iterative Improvement
Refine over time:
- Test new techniques on existing content
- Update workflows as you learn
- Stay current with RVC updates
Frequently Asked Questions
What's the biggest quality improvement?
Usually input audio quality. Clean, clear input produces clean, clear output.
Do I need expensive equipment?
Not necessarily. Good technique with basic equipment beats bad technique with expensive gear.
How much does the model affect quality?
Significantly. Quality models trained on good data outperform poor models regardless of settings.
Should I post-process heavily?
Light touch is better. Heavy processing often creates new problems.
Can I fix bad input with settings?
Partially. Settings help but can't fully compensate for poor input.
What sample rate should I use?
44.1kHz is standard and sufficient for most purposes.
How do I know if my settings are optimal?
Critical listening and comparison. If it sounds good and natural, settings are working.
Does processing order matter?
Yes. Noise reduction before conversion usually better. EQ after conversion typically.
Conclusion
RVC audio quality optimization starts with clean input and flows through appropriate settings to refined output. Each stage builds on the previous, so invest time proportionally. Input quality typically offers the largest improvement potential.
Start with good input preparation, use appropriate conversion settings, and apply light post-processing touch. Critical listening and systematic testing help you find optimal configurations for your specific use cases.
For complete RVC setup and usage, see our . For finding quality models, check our RVC models guide.
Make AI images and video in your browser
Characters, video, photo packs. No GPU, no setup. Your first generation is free.
Related Articles

Adobe Firefly vs Midjourney vs Ideogram 2026: Which Wins
Brand-safe licensing, scroll-stopping aesthetics, or text rendering. Three tools optimized for three different jobs, tested against real briefs.

AI Architecture Rendering 2026: Veras vs Paintit vs Midjourney
44 percent of architects use AI in 2026. Veras, Paintit, ArchiVinci, and Midjourney tested on five real architectural briefs from a working studio.

AI Art Market Statistics 2025: Industry Size, Trends, and Growth Projections
Comprehensive AI art market statistics including market size, creator earnings, platform data, and growth projections with 75+ data points.