AI Generated Photos from Your Images: A Complete How-To Guide for 2026
Learn how to create AI-generated photos from your existing images. Transform selfies into art, enhance old photos, and create stunning variations.
Make AI images and video in your browser
Characters, video, photo packs. No GPU, no setup. Your first generation is free.
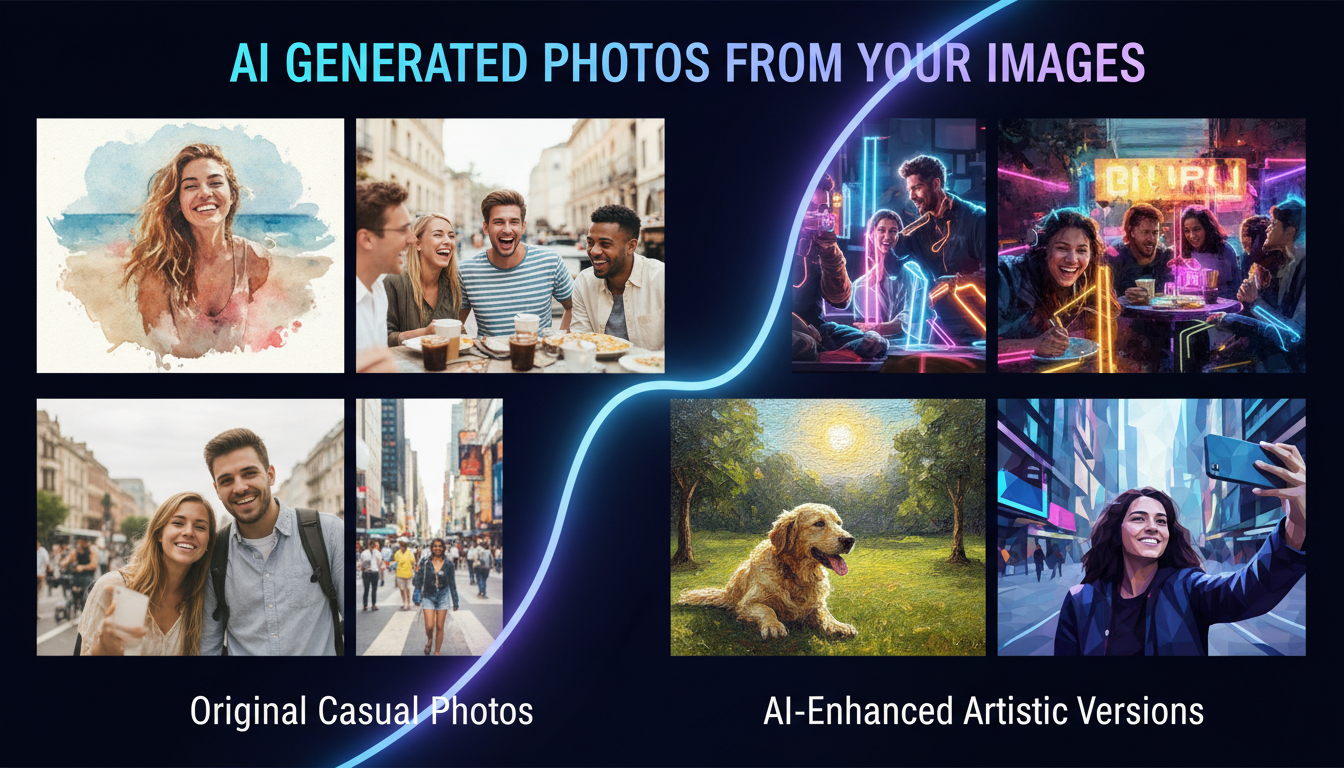
I have a folder of vacation photos that are technically fine but visually boring. Standard tourist shots, nothing a professional would look twice at. Last month, I ran them through various AI transformation tools and ended up with a collection that looks like it belongs in a travel magazine. Same locations, same compositions, completely different visual impact.
That's the magic of creating AI-generated photos from your existing images. You're not generating something from scratch. You're using your photos as a starting point and letting AI enhance, transform, or completely reimagine them. The original photo provides the structure. The AI provides the visual treatment.
Quick Answer: To create AI-generated photos from your images, use image-to-image (img2img) features in tools like Stable Diffusion, Flux 2, or Midjourney. Upload your photo, describe the desired transformation, and adjust the "creativity" slider to control how much the AI changes. Low settings (0.3) give subtle enhancement. High settings (0.8) give dramatic artistic transformation. Apatero offers one of the simplest interfaces for this process.
- Image-to-image (img2img) transformation uses your photos as a starting canvas for AI creation
- The denoise/creativity strength controls how much AI changes your original photo
- You can transform photos into any artistic style while preserving composition
- High-quality source photos produce dramatically better results
- Combining multiple techniques (style transfer + enhancement + upscaling) gives professional results
How Image-to-Image AI Transformation Works
Instead of starting from random noise (like text-to-image), img2img starts from your photo. The AI adds controlled noise to your image and then de-noises it while being guided by your text prompt. The result blends your original composition with the AI's interpretation of your description.
The key parameter is denoise strength (sometimes called creativity or transformation strength):
- 0.2-0.3: Subtle changes. Color correction, slight style shift. The output is clearly still your photo.
- 0.4-0.5: Moderate transformation. Noticeable style change while preserving main elements.
- 0.6-0.7: Significant transformation. The composition is maintained but the visual treatment is dramatically different.
- 0.8-0.9: Near-complete reimagining. Only the basic structure of your photo survives. The result looks like original AI art inspired by your composition.
I typically work at 0.5-0.6 for most projects. It's the sweet spot where you get genuine creative transformation while keeping enough of the original to be recognizable.
What Transformations Can You Do?
Style Transfer
Turn your photo into any artistic medium. A snapshot of your living room becomes a warm oil painting. A portrait becomes an anime character. A landscape becomes a watercolor illustration.
The best prompts for style transfer include the medium ("oil painting on canvas"), the artistic movement ("impressionist style"), and sometimes a specific reference ("in the style of a Pixar concept art").
Photo Enhancement
The subtler end of img2img. Clean up noise, enhance details, improve lighting, adjust colors. At low denoise strengths, the AI acts like an intelligent photo editor that understands the content of your image.
I've used this to salvage photos that were technically unusable. Underexposed shots from indoor events, noisy low-light photos, even slightly blurry action shots. The AI fills in what the camera missed.
Character Transformation
Turn yourself into an avatar, an illustration, a fantasy character. This works best with clear, well-lit portraits. The AI can maintain your basic facial structure while completely changing the visual style.
One of the most popular applications right now. People create AI avatars for LinkedIn, gaming profiles, and social media. The quality has reached a point where these look genuinely professional rather than gimmicky.
Scene Modification
Change the time of day in a landscape (golden hour, blue hour, midnight). Swap seasons (add snow to a summer scene). Modify weather (add dramatic storm clouds). The AI understands enough about environmental lighting and atmosphere to make these changes convincingly.
Background Replacement
Feed your photo with a prompt describing a new background. The AI preserves your subject while replacing everything around them. More sophisticated than simple green-screen work because the AI adjusts lighting and color on the subject to match the new environment.
Step-by-Step: Transform Your Photos
Let me walk through the actual process using different tools.
Free ComfyUI Workflows
Find free, open-source ComfyUI workflows for techniques in this article. Open source is strong.
Using ComfyUI (Most Control)
- Load the Image Load node with your source photo
- Connect to a KSampler with your chosen model (Flux 2 or SDXL)
- Set denoise to 0.5-0.6 (adjust based on desired transformation level)
- Write your style/transformation prompt
- Connect to a VAE Decode and Save Image node
- Generate and iterate
This gives you maximum control over every parameter. I can chain ControlNet for structural preservation, face restoration for portrait quality, and upscaling for final output.
Using Midjourney
- Upload your image to a Midjourney channel
- Use
/imaginewith your image URL followed by your style prompt - Adjust
--iw(image weight) to control how closely the output follows your original - Select variations from the grid and upscale your favorite
Using Cloud Platforms
Platforms like Apatero and Leonardo AI offer img2img through web interfaces. Upload your photo, write a prompt, adjust the transformation slider, and generate. The simplest approach for beginners.
Tips for Better Results
Source photo quality matters enormously. A sharp, well-exposed photo with clear subjects produces dramatically better transformations than a blurry, dark one. If possible, start with the best version of your photo available.
Match your prompt to the transformation level. At low denoise (0.3), detailed style prompts work well. At high denoise (0.8), broader descriptions work better because the AI has more creative freedom.
Process multiple photos in a batch. If you want a consistent style across a series of photos, run them all with the same prompt and settings. This creates a cohesive collection rather than randomly styled individual images.
Use ControlNet for structural preservation. If you want the AI to maintain the exact pose or composition of your original photo even at high denoise strengths, add ControlNet (pose, depth, or canny edge) to your workflow.
Iterate and combine. Take the best result from one transformation and use it as input for another. Layer subtle effects for complex, unique results that couldn't be achieved in a single pass.
Want to skip the complexity? Apatero gives you professional AI results instantly with no technical setup required.
Best Tools for Photo-to-AI Transformation
| Tool | Ease of Use | Quality | Control | Price |
|---|---|---|---|---|
| ComfyUI + Flux 2 | 4/10 | 9.5/10 | 10/10 | Free |
| Midjourney | 6/10 | 9/10 | 6/10 | $10-60/mo |
| Leonardo AI | 8/10 | 7.5/10 | 7/10 | Free tier |
| Apatero | 8/10 | 9/10 | 8/10 | Varies |
| Canva AI | 9/10 | 6.5/10 | 4/10 | Free tier |
Frequently Asked Questions
Can I turn any photo into AI art?
Yes, though results vary by photo quality and composition. Clear, well-lit photos with distinct subjects transform best. Very dark, blurry, or extremely cluttered images may produce unpredictable results.
Is it free to transform photos with AI?
Running Stable Diffusion or Flux locally is free. Cloud platforms offer limited free tiers. For unlimited free transformation, local generation is the way to go. See my free tools guide.
Will the AI change my face in portrait photos?
At low denoise settings (0.2-0.4), your face stays recognizable. At higher settings, facial features may change significantly. Use face restoration tools (CodeFormer) or IPAdapter with a reference image to maintain likeness.
Can I use transformed photos commercially?
The legal status depends on the original photo's ownership and the tool's license terms. If you own the original photo and use an appropriately licensed tool, commercial use is generally permitted. Check specific platform terms.
How do I maintain consistency across multiple photos?
Use the same prompt, model, and settings for all images. Add ControlNet for structural consistency. For character consistency, use LoRA or IPAdapter techniques. A consistent workflow produces a consistent collection.
What resolution should I use?
Transform at the model's native resolution (usually 1024x1024), then upscale the result. Direct transformation at non-native resolutions often introduces artifacts. For my upscaling recommendations, check my quality guide.
Earn Up To $1,250+/Month Creating Content
Join our exclusive creator affiliate program. Get paid per viral video based on performance. Create content in your style with full creative freedom.
Can I undo an AI transformation?
The original photo remains unchanged. AI transformation creates a new file. Always keep your originals. I recommend organizing transformed versions in a separate folder.
What if the result looks nothing like my photo?
Lower the denoise strength. At 0.2-0.3, the output will closely resemble your original with only subtle changes. Gradually increase until you find the balance between transformation and preservation that works for your purpose.
Real-World Applications That Actually Work
I've tested these transformation techniques across dozens of practical scenarios. Some work brilliantly. Others are more trouble than they're worth. Here's what actually delivers in real-world use.
Product photography on a budget. Small e-commerce sellers are using img2img to transform basic phone photos of their products into studio-quality shots. Take a photo of your product on a plain surface, run it through img2img with a prompt describing professional studio lighting and a clean backdrop. At denoise 0.4-0.5, the product stays accurate while the lighting and environment transform completely. One seller I know went from paying $200 per product shoot to generating comparable results for free.
Real estate photo enhancement. Property photos taken in poor conditions can be dramatically improved. Dark interiors become bright and welcoming. Overcast exterior shots gain blue skies and warm light. The key is keeping the denoise low enough (0.3-0.4) that the property remains accurately represented while the visual appeal increases substantially.
Social media content creation. Creators are building entire visual brands around AI transformation. Take a consistent style prompt, apply it to varied source photos, and you get a cohesive aesthetic across your entire feed. I've seen Instagram accounts grow from zero to thousands of followers purely on the strength of their AI-transformed photo style.
Old photo restoration. This one genuinely impressed me. Family photos from decades ago, faded, cracked, and low-resolution, can be brought back to life. The process combines img2img at very low denoise (0.2-0.3) with dedicated upscaling. The AI fills in missing detail while respecting the original content. I restored some of my grandmother's photos from the 1970s, and my family couldn't believe the results.
Art prints and merchandise. Turn your vacation photos into wall-worthy art prints by applying painterly styles. A forgettable beach sunset becomes a stunning impressionist landscape. A busy street scene becomes a moody noir illustration. People are selling these transformations as prints on Etsy and similar platforms.
Common Mistakes to Avoid
After running thousands of transformations, I've compiled the mistakes that waste the most time.
Starting with low-quality source images. The AI can enhance, but it can't invent detail that isn't there. A blurry, compressed JPEG gives the AI less information to work with. Always use the highest resolution, least compressed version of your photo available. The quality ceiling of your output is directly tied to the quality floor of your input.
Using one denoise setting for everything. Different goals need different strengths. Enhancement needs 0.2-0.3. Style transfer needs 0.5-0.6. Complete reimagining needs 0.7-0.8. Treating denoise as a set-and-forget parameter limits your results.
Ignoring aspect ratio. If your source photo is 16:9 but your model generates best at 1:1, you'll get distortion or cropping issues. Resize or crop your input to match the model's preferred aspect ratio before transforming.
Skipping iteration. Your first result is rarely your best. Generate 4-8 variations with slightly different prompts or seeds, then pick the winner. The variance between generations means your perfect result might be attempt number six.
Start Transforming Your Photos
Your photo library is sitting on untapped creative potential. Every vacation snap, product photo, selfie, and landscape shot is a canvas waiting for AI transformation. The tools are accessible, the process is straightforward, and the results can be genuinely stunning.
Pick a photo you've always liked but wished looked more polished. Run it through an img2img workflow with a style you admire. You'll be surprised at what your ordinary photos can become with a little AI enhancement.
Make AI images and video in your browser
Characters, video, photo packs. No GPU, no setup. Your first generation is free.
Related Articles

10 Best AI Influencer Generator Tools Compared (2025)
Comprehensive comparison of the top AI influencer generator tools in 2025. Features, pricing, quality, and best use cases for each platform reviewed.

5 Proven AI Influencer Niches That Actually Make Money in 2025
Discover the most profitable niches for AI influencers in 2025. Real data on monetization potential, audience engagement, and growth strategies for virtual content creators.

AI Action Figure Generator: How to Create Your Own Viral Toy Box Portrait in 2026
Complete guide to the AI action figure generator trend. Learn how to turn yourself into a collectible figure in blister pack packaging using ChatGPT, Flux, and more.