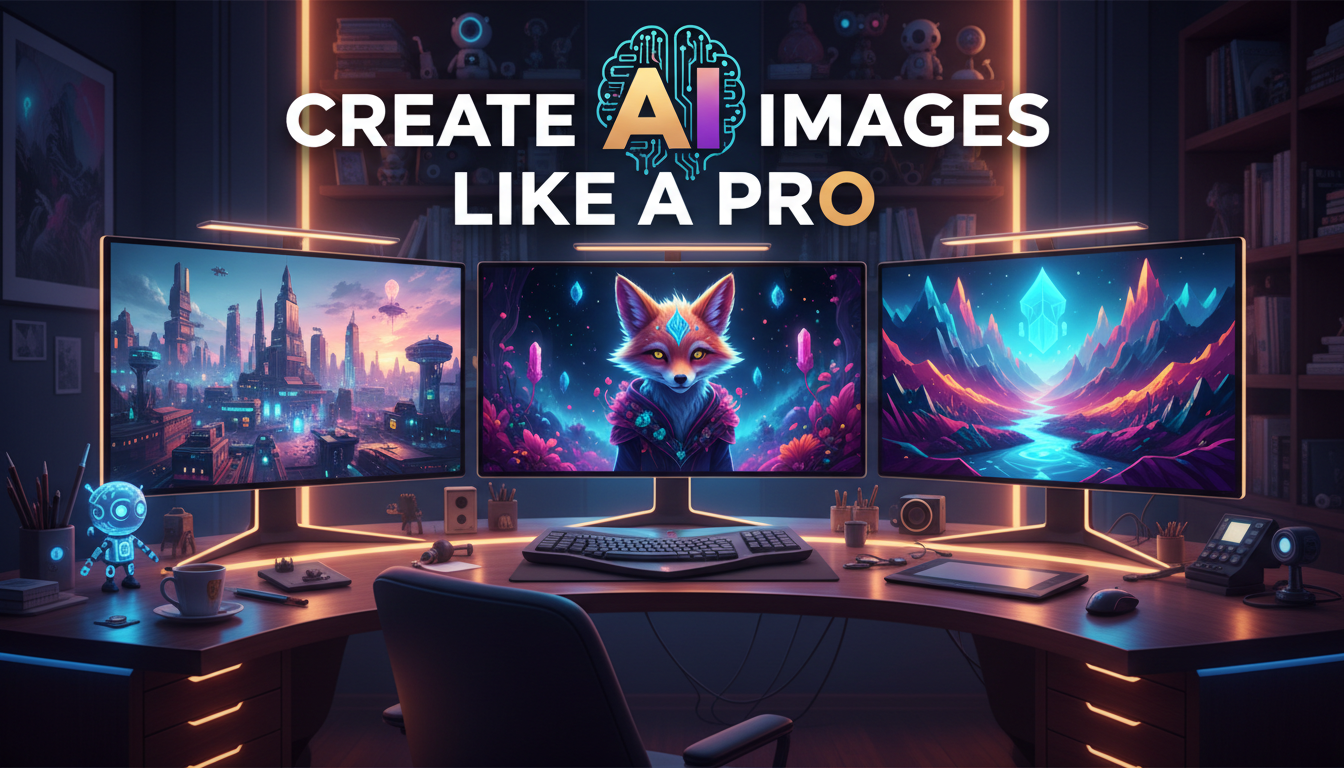
Create AI Images Like a Pro: Tools, Tips, and Techniques That Actually Work
Learn how to create stunning AI images for any purpose. Practical tips for creating professional-quality visuals with AI tools in 2026.
Make AI images and video in your browser
Characters, video, photo packs. No GPU, no setup. Your first generation is free.
Creating AI images that look professional rather than obviously AI-generated is a skill. I know because my early attempts were terrible. Not "charmingly rough around the edges" terrible. More like "my grandmother would politely say 'that's... interesting'" terrible.
After two years and somewhere around 50,000 generated images, I've developed a workflow that consistently produces results I'm proud to publish. The good news is you don't need to generate 50,000 images to learn what I learned. Most of it comes down to a handful of principles that nobody bothers to teach explicitly.
Quick Answer: To create professional AI images, focus on three things. First, write specific, structured prompts with clear subjects and style direction. Second, choose the right tool for your specific use case. Third, always apply post-processing (upscaling and minor edits). The difference between amateur and professional results is almost always in the refinement, not the initial generation.
- Professional AI images require specific prompts, not vague descriptions
- The tool you choose matters less than how you use it
- Post-processing transforms good outputs into great finished products
- Iteration is normal. Expect to generate 5-10 versions before finding the keeper
- Understanding composition and visual design principles improves results dramatically
Why Most People's AI Images Look Amateur
Let me be honest about something. The gap between amateur and professional AI images isn't about access to better tools. I've seen stunning work done with free tools and terrible output from people paying $60/month for Midjourney.
The difference comes down to three things that most tutorials skip over.
Prompt precision. Beginners write prompts like captions. "A beautiful sunset." Professionals write prompts like creative briefs. They specify composition, lighting, color palette, mood, medium, and technical details. They know exactly what they want before they type a single character.
Iteration mindset. Beginners expect the first generation to be perfect. Professionals treat the first generation as a rough draft. They generate, evaluate, adjust, and regenerate. The final image might be the 8th version of the 3rd concept variation.
Finishing touches. Beginners download the raw output and call it done. Professionals run it through upscaling, adjust colors, crop for composition, and fix any minor artifacts. That last 10% of effort creates 50% of the quality difference.
How to Create AI Images That Actually Look Good
Let me walk you through my actual process. Not a simplified version. The real thing.
Phase 1: Concept Development (5 minutes)
Before I touch any tool, I spend a few minutes thinking about what I actually want. This sounds obvious but most people skip it. They jump straight into prompting and wonder why they get inconsistent results.
I ask myself four questions:
- What's the subject? (Be specific. Not "a person" but "a confident woman in her 30s")
- What's the mood? (Warm and inviting? Dark and dramatic? Energetic and colorful?)
- What's the intended use? (Blog header, social media, print, product shot?)
- What style? (Photorealistic, illustrated, painted, 3D render, vintage?)
Having clear answers to these questions makes prompting 10x easier and produces focused results instead of scattered attempts.
Phase 2: First Draft Generation (10 minutes)
Now I generate 8-12 quick images to explore the concept space. I use slightly different prompt variations for each one. Different angles, different compositions, different emphasis on different elements.
For most work, I use Flux 2 through ComfyUI on Apatero or my local setup. The prompt adherence means I get what I ask for, which makes this exploration phase efficient. If I'm going for something more artistic, I might switch to Midjourney for this phase.
Here's an actual prompt from a recent project:
"Professional food photography, artisan sourdough bread on a rustic wooden cutting board, steam rising, golden crust with visible scoring patterns, scattered flour, warm morning light from a window on the left, shallow depth of field, dark background, shot on Hasselblad X2D, food magazine quality"
Compare that to what most people would write: "picture of bread." You see the difference.
Phase 3: Selection and Refinement (5-10 minutes)
From those 8-12 images, I pick the 2-3 that have the best composition, lighting, and overall feeling. These become my refinement candidates.
I tweak the prompt for each candidate to fix specific issues. If the bread looks great but the background is too bright, I add "very dark moody background" to the prompt and regenerate. If the composition is perfect but the color palette is off, I adjust the style descriptors.
This iterative refinement is where the magic happens. Each round gets closer to the vision in my head.
Phase 4: Detail Fixes (5 minutes)
Almost every image has minor issues. A texture that doesn't look quite right. A reflection that's physically impossible. An edge that's too sharp or too soft. This is where inpainting shines.
I mask the problem area, write a brief description of what should be there, and regenerate just that section. In ComfyUI, this workflow is seamless. The fixed areas blend perfectly with the surrounding image.
Free ComfyUI Workflows
Find free, open-source ComfyUI workflows for techniques in this article. Open source is strong.
Phase 5: Post-Processing (5 minutes)
The raw output goes through three steps:
- Upscaling via SUPIR or SeedVR2 to get print-quality resolution
- Color grading in Photoshop or Lightroom (minor adjustments)
- Final crop to the exact aspect ratio I need
Total time from concept to finished image: 30-40 minutes. Less for simple pieces, more for complex compositions with multiple elements.
What Makes a Great AI Prompt?
I've analyzed my best-performing prompts to identify patterns. Here's what works consistently.
Lead With the Subject
Put the most important element first. The AI gives more weight to early prompt tokens.
Good: "Close-up portrait of an elderly fisherman with weathered skin and kind eyes..." Bad: "In a style that is photorealistic, with good lighting, create a portrait of..."
Be Specific About Technical Details
Photography terms work remarkably well, even for non-photographic styles. The models were trained on image-caption pairs where photographers described their settings.
Terms that consistently improve quality:
- Lens specifications: "85mm f/1.4," "35mm wide angle," "macro lens"
- Lighting: "golden hour," "rim lighting," "soft box," "three-point lighting"
- Camera references: "shot on Canon EOS R5," "Hasselblad medium format"
- Film stocks: "Kodak Portra 400," "Fuji Velvia," "Ilford HP5"
Use Negative Prompts Strategically
Most advanced tools support negative prompts. These tell the model what to avoid. They're incredibly powerful for removing common AI artifacts.
My standard negative prompt: "blurry, low quality, distorted, deformed, bad anatomy, watermark, text, logo, extra limbs, duplicate"
I adjust this based on the specific image type. For portraits, I add "uncanny valley, plastic skin." For landscapes, I add "artificial looking, oversaturated."
Want to skip the complexity? Apatero gives you professional AI results instantly with no technical setup required.
Style Consistency Through Keywords
If you need a consistent style across multiple images (for a brand, a project, or a series), develop a "style block" that you append to every prompt. Mine for this blog is about 15 words long and includes specific lighting, color palette, and composition preferences.
Creating Images for Specific Use Cases
Different purposes require different approaches. Here's what I've learned works best for common scenarios.
Social Media Content
Speed matters more than perfection. I generate at lower step counts (20-25 steps), skip the extensive refinement phase, and focus on eye-catching compositions that work as thumbnails.
The trick for social media is contrast. Bold colors, clear subjects, minimal background clutter. These perform better in feeds where attention spans are measured in milliseconds.
Blog and Website Headers
These need to be wide format (16:9 or wider), with enough negative space for text overlay. I explicitly include "ample negative space on the left" or "clean area for text placement" in my prompts.
Product Photography
This is where AI really shines. I can generate 50 product shot variations in the time it takes to set up one traditional photo shoot. The key is consistency. Same lighting angle, same background treatment, same color temperature across all products in a catalog.
I've been helping small e-commerce businesses set up product photography workflows on Apatero, and the results have genuinely surprised me. Some of these images are indistinguishable from professional studio shots.
Character Art and Illustrations
Consistency is the challenge here. If you need the same character in multiple poses and settings, either train a LoRA (time investment upfront, perfect results after) or use IPAdapter with reference images (quicker setup, good-enough results for most purposes). You can also take your existing character photos and turn them into AI art using image-to-image techniques, which is a great shortcut for establishing a visual base.
For one-off character illustrations, focus your prompt on personality and attitude, not just physical description. "A battle-scarred pirate captain with a knowing smirk, leaning against a ship's railing at sunset, confidence radiating from every line" produces more interesting results than "male pirate, brown hair, eye patch."
Earn Up To $1,250+/Month Creating Content
Join our exclusive creator affiliate program. Get paid per viral video based on performance. Create content in your style with full creative freedom.
Common Mistakes When Creating AI Images
I've made all of these. Learning from my failures so you don't have to.
Over-prompting. There's a sweet spot. Too few details and you get generic results. Too many details and the model gets confused, trying to accommodate conflicting instructions. I aim for 40-80 words per prompt.
Ignoring aspect ratio. Most models default to square output. But how often do you actually need a square image? Set the aspect ratio before generating. 16:9 for headers, 4:5 for Instagram, 9:16 for stories. Getting this right from the start saves cropping headaches.
Skipping the reference. If I have a specific visual in mind, I look for reference images that capture elements of what I want. Even showing these to myself (not necessarily to the AI) helps me write more precise prompts.
Not saving good prompts. I keep a prompt library organized by category. When I find a combination that works well, I save it as a template. This dramatically speeds up future projects.
Comparing to human art. AI images are their own medium. Trying to make them look exactly like a specific human artist's work is usually the wrong goal. Instead, aim for "professionally competent and visually appealing."
Free Ways to Create Professional AI Images
Budget constraints shouldn't mean quality constraints. Here are the best free paths I've found.
For photorealistic work: Install Stable Diffusion with the SDXL base model. Free, local, and capable of stunning results. The setup takes about an hour if you follow a good guide.
For artistic work: Stable Diffusion with community-trained style LoRAs. The CivitAI library has thousands of free styles, from anime to oil painting to vintage photography.
For quick tasks: Microsoft Image Creator provides solid DALL-E-powered generation for free. The quality won't match Flux 2, but it's more than adequate for social media and presentations.
For editing and refinement: GIMP and Photopea are free alternatives to Photoshop that handle all the post-processing steps I described above.
Frequently Asked Questions
What's the easiest way to create an AI image?
Open ChatGPT and describe what you want. It takes under 30 seconds to get your first result. For higher quality, try Flux 2 through a hosted platform.
Do I need artistic skills to create good AI images?
Not traditional art skills, no. But understanding basic composition (rule of thirds, leading lines, color theory) significantly improves results. These principles apply to prompting just as they do to photography or painting.
How do I create AI images for free?
Use Stable Diffusion locally (free with GPU hardware), Microsoft Image Creator (free cloud option), or Leonardo AI's free tier. All produce quality results at no cost.
What's the best tool for creating AI photos?
For photorealistic images, Flux 2 leads in my testing. For the most accessible experience, DALL-E 3 through ChatGPT. For maximum control, Stable Diffusion locally. I break this down in detail in my tool comparison guide.
How many images should I generate before picking one?
I typically generate 8-12 initial concepts, refine 2-3 of those, and end up with 1 final image. For important projects, I might generate 30-40 variations. There's no shame in iterating. Even the best prompters rarely get their ideal result on the first try.
Can I create AI images on my phone?
Yes. ChatGPT, Microsoft Bing Image Creator, and several other apps work on mobile. The quality is the same as desktop since the generation happens on cloud servers. Prompt writing on a phone keyboard is less comfortable, but the results are identical.
How do I maintain consistent style across multiple images?
Develop a "style block" of keywords that you add to every prompt (lighting, color palette, medium). For character consistency, use LoRA training or reference image techniques. Consistent style comes from consistent prompt structure.
What resolution should I create images at?
Generate at the model's native resolution (usually 1024x1024 for square, 1280x768 for landscape). Then upscale to your target resolution using AI upscaling tools. This two-step approach produces sharper results than generating directly at high resolution.
The Skill That Transfers Everywhere
Here's the insight that took me the longest to internalize. Getting good at creating AI images is really about getting good at visual communication. When you learn to articulate what you want with precision, that skill transfers to working with human designers, directing photography, and even improving your own eye for visual quality.
The tools will keep changing. New models will launch. Old ones will become obsolete. But the ability to clearly envision and communicate a visual concept is permanent. If you want to see the full picture of what's possible with AI visual creation today, my ultimate guide to AI for images covers everything from generation to editing to animation in one place.
Start creating today. Your first attempts will be rough. That's normal and expected. But every image you generate teaches you something about how these systems interpret language, and that knowledge compounds quickly. Within a few weeks, you'll be producing results that would have seemed impossible when you started.
Make AI images and video in your browser
Characters, video, photo packs. No GPU, no setup. Your first generation is free.
Related Articles

10 Best AI Influencer Generator Tools Compared (2025)
Comprehensive comparison of the top AI influencer generator tools in 2025. Features, pricing, quality, and best use cases for each platform reviewed.

5 Proven AI Influencer Niches That Actually Make Money in 2025
Discover the most profitable niches for AI influencers in 2025. Real data on monetization potential, audience engagement, and growth strategies for virtual content creators.

AI Action Figure Generator: How to Create Your Own Viral Toy Box Portrait in 2026
Complete guide to the AI action figure generator trend. Learn how to turn yourself into a collectible figure in blister pack packaging using ChatGPT, Flux, and more.